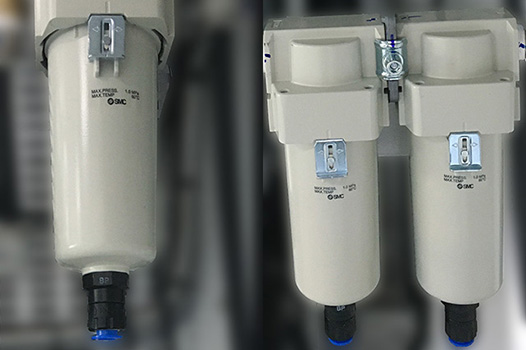
The ThermoTST series Thermal Inducing System is designed and manufactured to provide customers with years of trouble-free service. By following the guidelines of daily maintenance plans, operators can have a significant positive impact on the lifespan of the ThermoTST series Thermal Inducing System.
The ThermoTST Thermal Inducing System recommends performing maintenance and temperature calibration work every 12 months, replacing consumables such as filter cartridges, and the time interval also depends on the application environment and usage time of the equipment.
Preparation work
1 hexagonal screwdriver
A cleaning cloth
5 high-quality air filter elements purchased
Step. 1
Disconnect the air source and power switch in advance.
Remove the dust cover from the external screws of the chassis, and use an Allen screwdriver to remove the front and right covers of the chassis in sequence.
*Attention: Before cleaning the equipment, be sure to unplug the air source and power supply.
Step. 2
Prepare to remove the air conditioning filter element and pay attention to the wiring harness of the air conditioning host that is obstructed.
Pull the wiring harness to the left to expose the air filter element.
Remove the filter element limit clip downwards from the slot and rotate clockwise to remove the filter element
After removal, the air filter element can be replaced or cleaned.
Replace with a brand new air filter element

*Attention: When replacing the filter element, be sure to use our company's original components. Do not purchase inferior filter elements. When installing the filter element, pay attention to the front and back sides. If the filter element is installed upside down, it may not filter the air. Remember to consult the merchant when purchasing.
Step. 3
After completing the replacement, the assembly process is the reverse of the disassembly process, and attention should be paid to avoiding damage to the components during assembly.
Step. 4
Connect dry air and power supply, test if all functions are normal, and if there are no abnormalities, the equipment can be used normally.


